English
 Chinese

A few months ago, I got a call from a production manager at a mid-size EMS facility in Suzhou. Their first-pass yield had dropped from 96.2% to 91.8% in three weeks. They’d already swapped solder paste, recalibrated their pick-and-place, and brought in a process engineer. Nothing worked. The culprit? A dusty stencil and a batch of low-grade wipes that were leaving fibers on the board surface. It took two days to figure it out and about $15 to fix.
That story sticks with me because it’s not unusual. In electronics manufacturing, wiping cloths are treated as an afterthought — a line item on a procurement spreadsheet that nobody thinks about until something breaks. But the data tells a different story. In SMT assembly alone, stencil-related defects account for 35–50% of all solder quality issues, and the majority of those trace back to inadequate cleaning during changeovers.
This guide is for production managers, process engineers, and procurement teams who want to understand how the right wiping cloth — used the right way — can measurably reduce defect rates on the shop floor.
Why Wiping Cloths Matter in Electronics Manufacturing
Modern electronics manufacturing operates at a scale where contamination invisible to the naked eye can destroy an entire production run. A single fiber landing on a solder pad can cause an open circuit. Residual flux on a stencil aperture can starve a joint of paste. Fingerprints on a PCB surface before conformal coating can create adhesion failure.
These aren’t theoretical risks. They’re documented causes of yield loss across the industry:
- Solder bridging — often caused by paste residue left in stencil apertures during cleaning
- Insufficient solder — paste starvation from blocked apertures due to fiber contamination
- Component misalignment — particles under the board causing uneven placement pressure
- Coating defects — oils and residues preventing conformal coating adhesion
The common thread: most of these defects are preventable with proper wiping procedures and the right materials. If you’re already familiar with the fundamentals of industrial wipe materials and types, you’ll know that the material composition of a wipe determines its absorption, particle generation, and chemical compatibility. In electronics, those three factors directly translate to yield numbers.
The Real Cost of Contamination in PCB Assembly
Let me put some numbers on this, because “contamination is bad” doesn’t help anyone budget for better supplies.
Direct Costs
A typical SMT line running 500 boards per hour at a rework cost of $0.80 per defect point means:
| Defect Rate | Defects/Hour | Rework Cost/Hour | Monthly Cost (160h) |
|---|---|---|---|
| 2% | 100 | $80 | $12,800 |
| 1% | 50 | $40 | $6,400 |
| 0.5% | 25 | $20 | $3,200 |
Moving from 2% to 0.5% defect rate saves roughly $9,600 per month on a single line. The annual cost of professional-grade wiping cloths for that same line? Typically under $1,200.
Hidden Costs
The direct rework numbers only tell part of the story:
- Line stoppage — stopping an SMT line for stencil cleaning costs $200–500 per incident in lost throughput
- Customer returns — field failures from solder defects average 10× the cost of catching them in-house
- Audit failures — ISO 9001 and IATF 16949 audits increasingly focus on cleaning process documentation
- Scrap — boards that can’t be reworked go straight to waste
The economics are straightforward: spending slightly more on the right wiping cloth pays for itself many times over through reduced defect rates and fewer line stoppages.
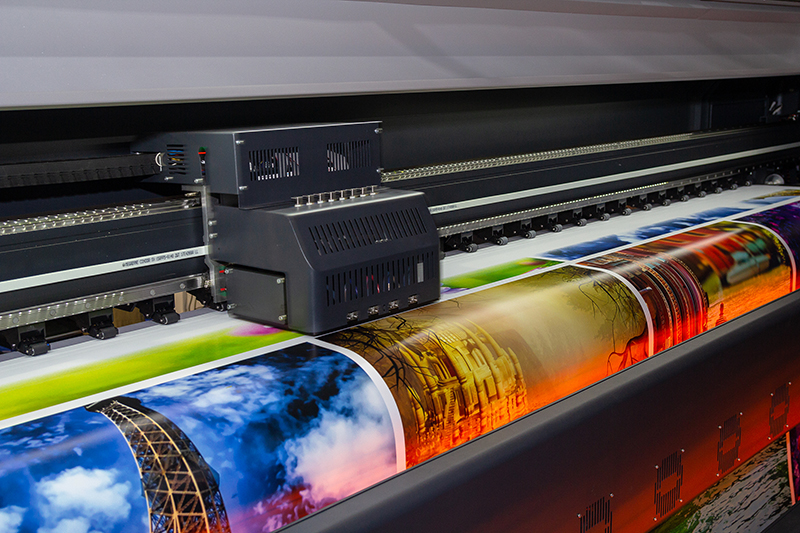
Where Wiping Cloths Are Used in the SMT Process
A typical surface mount assembly line uses wiping cloths at multiple stages. Here’s where they matter most:
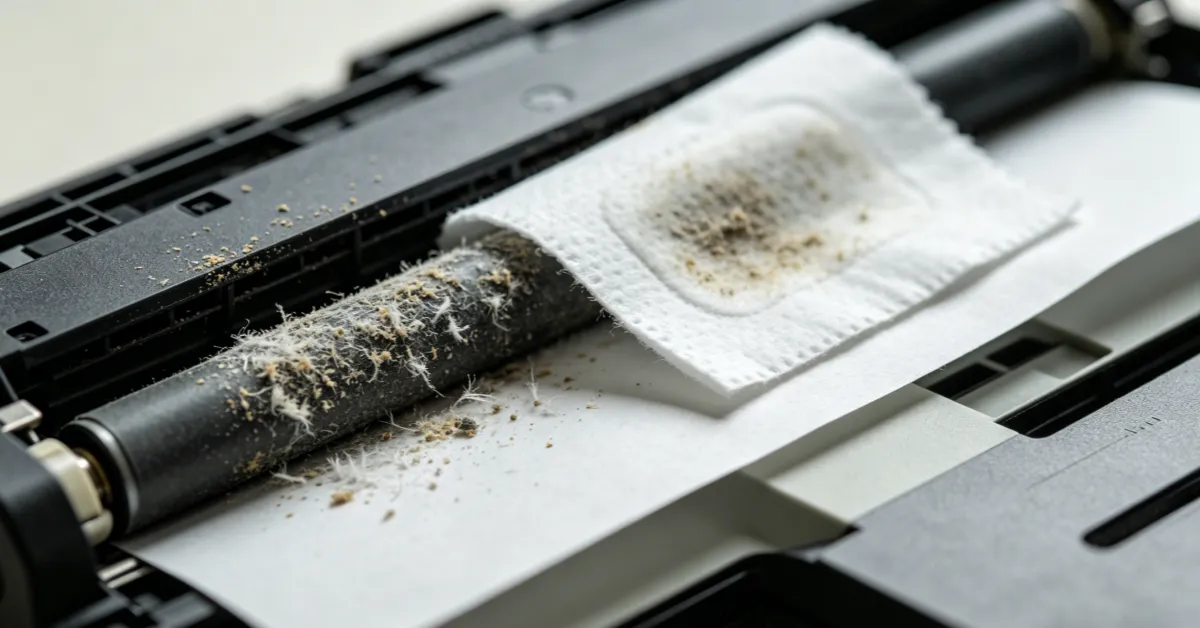
1. Stencil Cleaning (Between Board Prints)
This is the highest-frequency wipe operation on any SMT line. During production, solder paste accumulates on the bottom surface of the stencil and inside apertures. If not cleaned regularly, this residue causes paste volume variation, bridging, and insufficient deposition.
Modern SMT lines typically clean the stencil bottom side every 5–25 prints, depending on the paste type, aperture size, and board density. Manual wipe-downs happen during changeovers and at shift end.
Recommended wipe: W6120 SMT Stencil Cleaning Cloth — a 4-inch polyester wipe designed specifically for stencil surface cleaning. The cut-edge construction minimizes fiber release, which is critical when you’re working within millimeters of thousands of apertures.
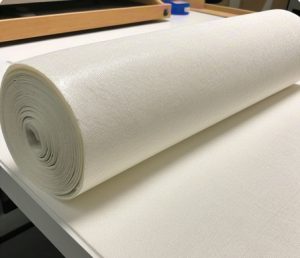
2. Stencil Wiping Rolls (Automated Cleaning)
High-volume SMT lines use automated stencil cleaning systems that feed wiping rolls continuously. These rolls need consistent tension, uniform thickness, and solvent compatibility to work reliably in automated equipment.
Recommended wipe: W6111 SMT Stencil Wiping Rolls and W6115 SMT Stencil Wiping Rolls — both use cellulose/polyester blends optimized for automated stencil cleaning systems. The W6115 offers enhanced solvent resistance for lead-free paste applications.
3. PCB Surface Cleaning (Pre- and Post-Solder)
Before solder paste application, PCB surfaces may carry dust, fingerprints, or residual contaminants from storage. After reflow, flux residues need to be cleaned before inspection or conformal coating.
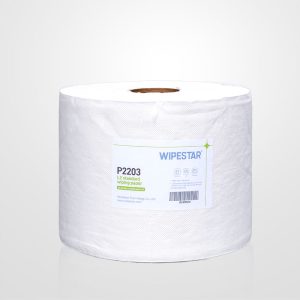
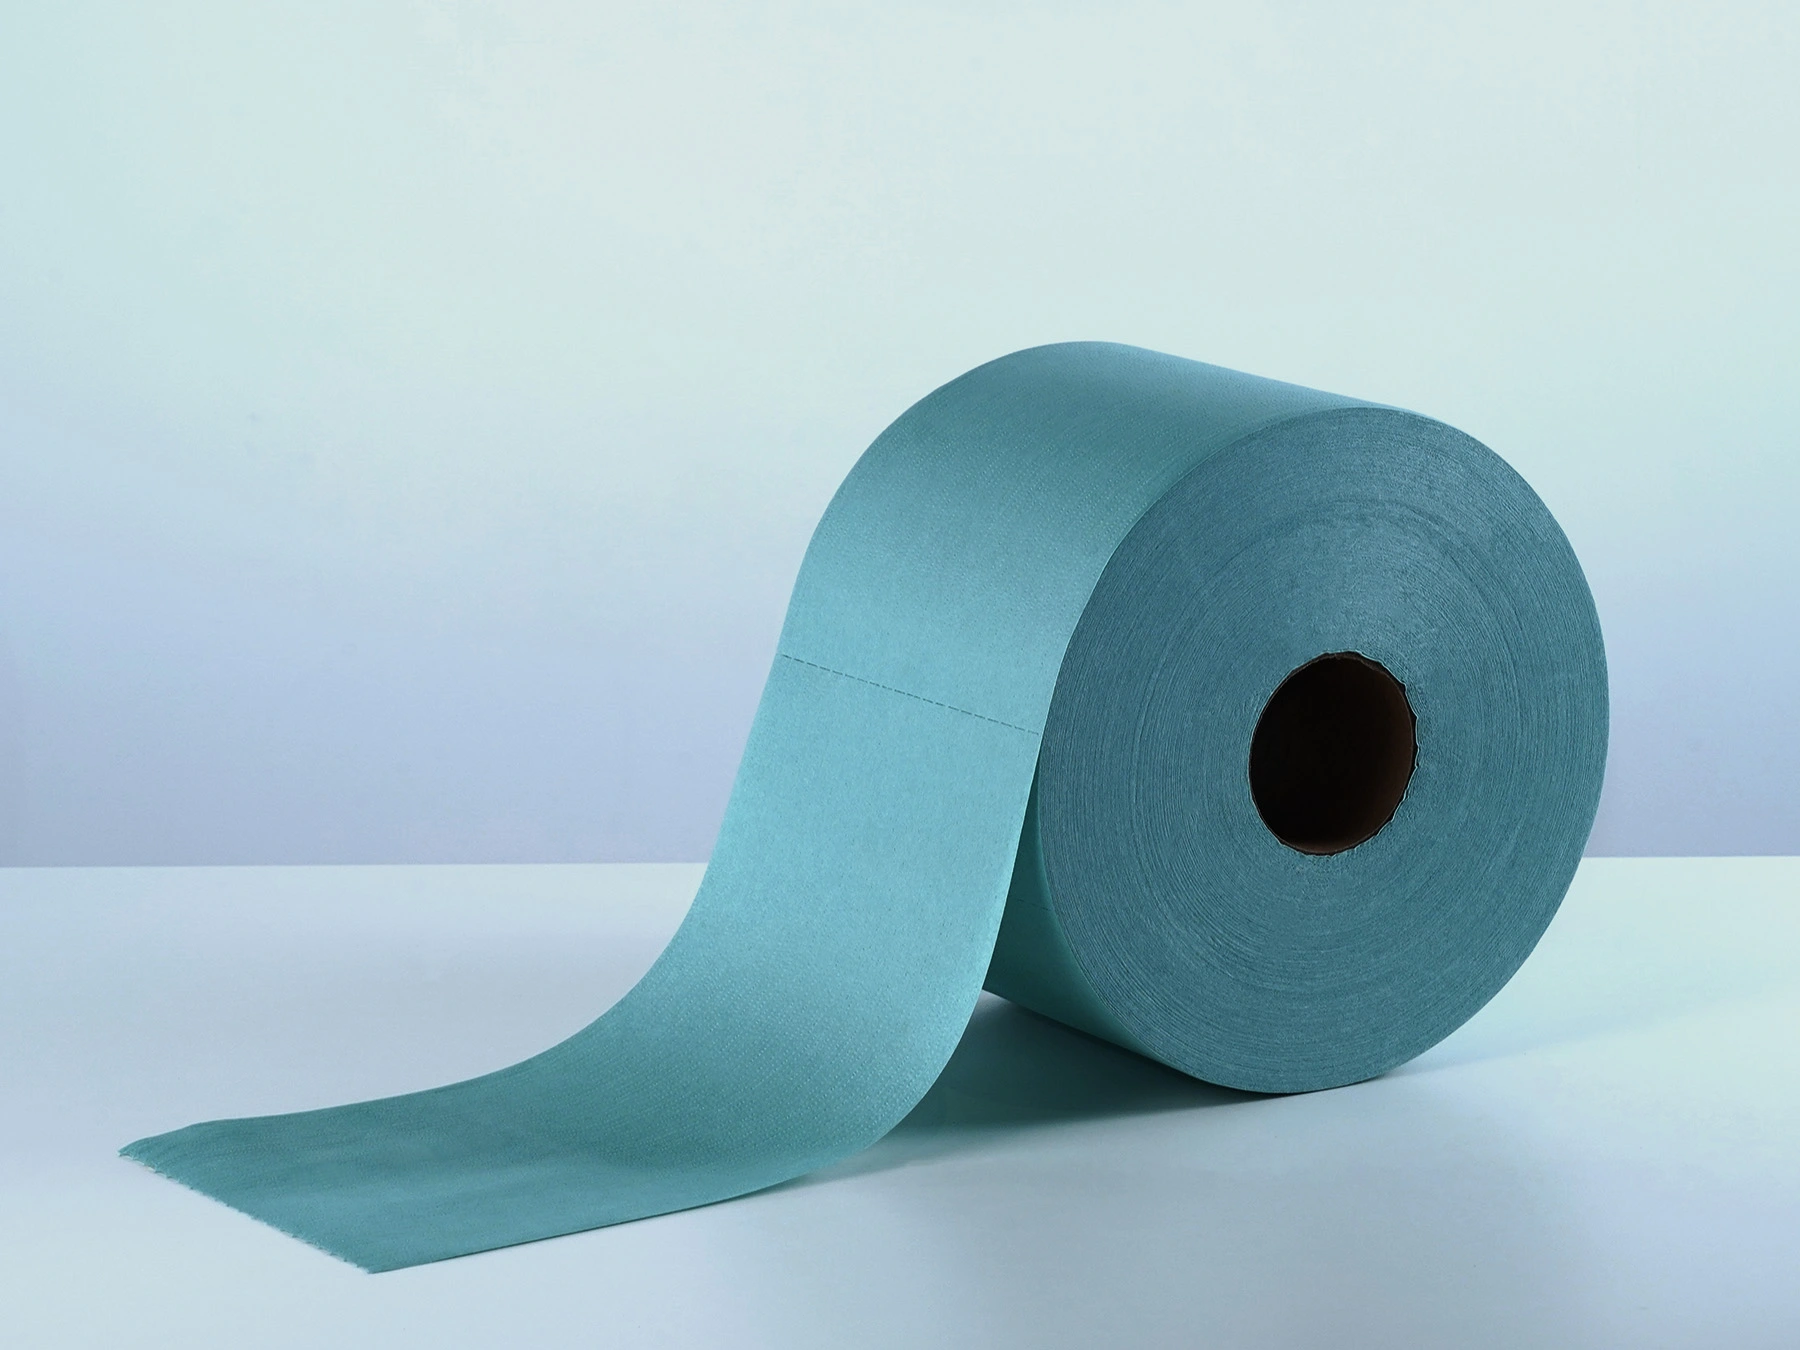
Recommended wipe: W1104 Multi-purpose Wipes — a 9-inch cellulose/polyester wipe suitable for general surface cleaning in electronics environments. The W1503 Multi-purpose Wipes in green is a good alternative when color-coding is needed to prevent cross-contamination between process stages.
4. Workstation and Tool Cleaning
Operator workbenches, nozzle cleaning stations, and tool surfaces all accumulate paste, flux, and dust over time. Regular cleaning with appropriate wipes prevents cross-contamination between batches.
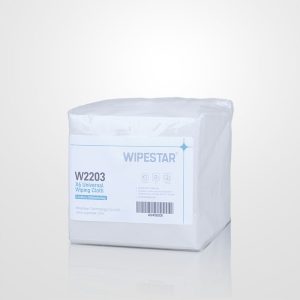
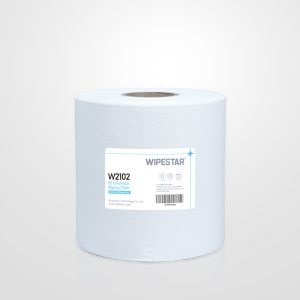
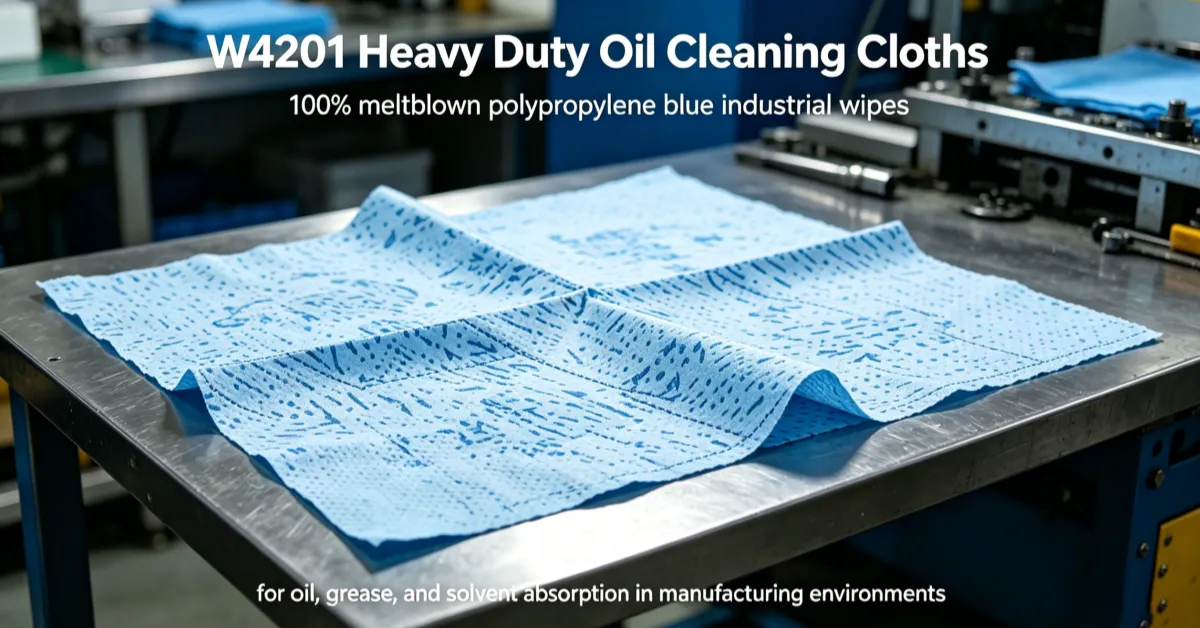
Recommended wipe: W2202 Universal Wiping Cloth (X6) — the wood pulp/polypropylene construction gives it high absorption for oil and solvent cleanup, making it ideal for workstation maintenance.
For a deeper dive into matching wipe materials to specific cleaning tasks, see our Wiping Cloth Selection Guide for Industrial Facilities.
SMT Stencil Cleaning: The Most Overlooked Step
Let’s spend more time here, because stencil cleaning is where wiping cloth quality has the biggest impact on yield.
Why Stencil Cleaning Is Critical
The stencil is essentially a precision screen printing template. Apertures are laser-cut to match pad dimensions, often with tolerances of ±5 µm. When paste residue builds up in or around these apertures, it changes the volume of paste deposited on each pad.
Here’s what happens in practice:
- Aperture blockage — dried paste or fiber stuck in a small aperture (< 0.5 mm) completely prevents paste deposition. The result: open solder joints.
- Paste volume variation — partial residue buildup causes inconsistent deposition across the board. Some joints get too much paste (bridging risk), others get too little (cold joint risk).
- Bottom-side smearing — paste on the stencil bottom surface gets smeared onto the PCB surface during the next print, creating solder balls and bridging.
The Two-Step Cleaning Approach
Effective stencil cleaning isn’t just about wiping harder. It’s a two-stage process:
Step 1: Wet wipe — Use a wipe dampened with an appropriate solvent (typically IPA or a proprietary stencil cleaner) to dissolve paste residue. Apply light, even pressure across the stencil surface. Don’t scrub — you’ll damage aperture edges.
Step 2: Dry wipe — Follow with a dry wipe to remove dissolved residue and prevent solvent pooling. This step is critical — residual solvent can dilute the next paste deposit and cause printing defects.
For stencil wiping rolls used in automated systems, the W6102 SMT Stencil Wiping Rolls provide consistent material quality across the entire roll length, which is essential for maintaining uniform cleaning performance in automated equipment.
How Often Should You Clean?
There’s no universal answer, but here’s a practical starting framework:
| Situation | Cleaning Frequency |
|---|---|
| Standard production run | Every 10–15 prints (bottom wipe) |
| Fine-pitch apertures (< 0.5 mm) | Every 5–10 prints |
| Lead-free paste (higher viscosity) | More frequent than leaded paste |
| Board changeover | Full stencil clean (top + bottom) |
| Shift change | Full stencil clean + inspection |
| Extended downtime (> 30 min) | Clean before restarting |
These are starting points. The right frequency depends on your paste, your stencil, and your environment. Track your defect data and adjust.

Common Mistakes That Increase Defect Rates
After working with dozens of electronics manufacturers, I see the same wipe-related mistakes over and over:
1. Using the Wrong Material
A cellulose wipe that works fine for general cleaning can shed fibers on a stencil surface. Those fibers end up in apertures, blocking paste deposition. For stencil work, use polyester or low-lint nonwoven wipes — never general-purpose cellulose.
2. Over-Saturating the Wipe
More solvent doesn’t mean cleaner. Excess solvent pools on the stencil surface and seeps under the frame, potentially contaminating the board side of the stencil. A properly dampened wipe — not dripping — is all you need.
3. Reusing Wipes
I’ve seen operators try to save money by reusing wipes across multiple cleaning cycles. This transfers contamination from the dirty side of the wipe back onto the stencil. A single-use wipe costs cents. A rework event costs dollars. The math doesn’t support reuse.
4. Inconsistent Cleaning Pressure
Heavy-handed scrubbing can damage stencil aperture edges, changing paste deposition characteristics over time. Light, consistent pressure in a single direction is the correct technique.
5. Ignoring Storage Conditions
Wipes stored in open containers in a humid environment absorb moisture and airborne particles. Keep wipes sealed until use, and store them in a temperature-controlled area away from dust sources.
A Practical Wipe Management Framework
Here’s a simple system I recommend to electronics manufacturers who want to get wipe management under control:
Audit (Week 1)
- Map every point on your production line where wipes are used
- Document the current wipe type, cleaning frequency, and solvent used at each point
- Collect defect data for the past 3 months, categorized by defect type
Standardize (Week 2–3)
- Match each cleaning point to the appropriate wipe type and material
- Create a wipe specification document (material, size, edge type, solvent compatibility)
- Standardize on 2–3 wipe types maximum across the facility
Implement (Week 4)
- Train operators on correct cleaning technique (pressure, direction, frequency)
- Set up wipe dispensing stations at each cleaning point
- Establish a reordering threshold (don’t wait until you’re out)
Monitor (Ongoing)
- Track defect rates weekly, looking for correlation with wipe usage patterns
- Conduct monthly wipe quality checks (visual inspection, fiber shedding test)
- Review and adjust cleaning frequencies quarterly
For more on how material choice affects cleaning performance across different applications, our guide on surface preparation wipes for automotive paint covers the science of contamination removal in detail — the same principles apply to electronics, even if the contaminants differ.
Frequently Asked Questions
Looking for the right wiping cloths for your electronics production line? Browse the complete WIPESTAR wiping cloth range or contact us for application-specific recommendations.